Plaster Repair With Joint Compound
- Patrick Fatica
- Sep 16, 2024
- 2 min read


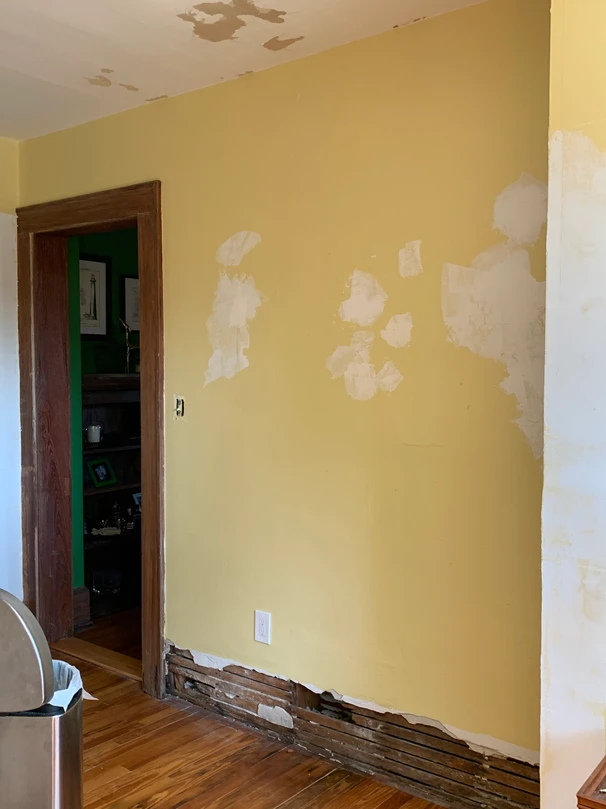
The plaster in this room is the worst of anywhere else in the house. We believe that this room was actually the original kitchen because there is plumbing that runs to it, which makes sense. The walls look terrible due to the amount of remodeling that was done in this room over a 100-year period. People just patched over patches and spackled haphazardly.
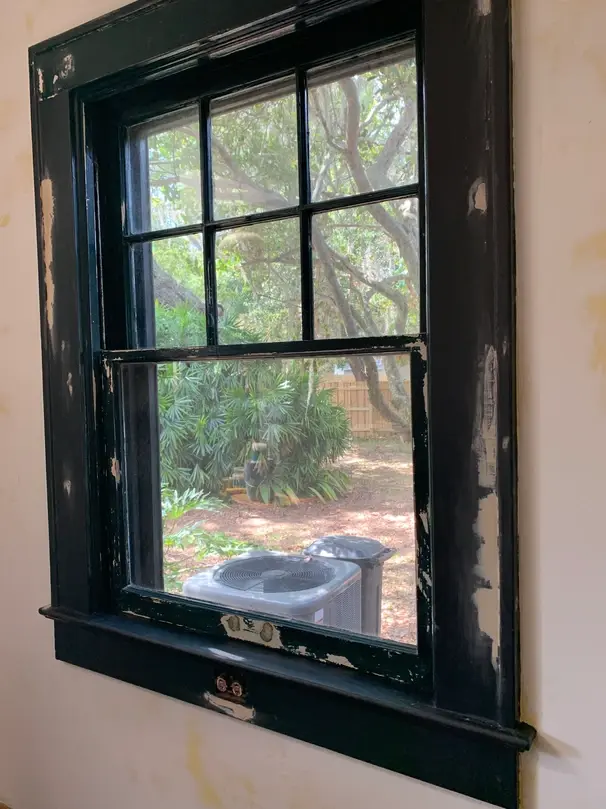
You can see what the plaster in this room looks like in the photo below.
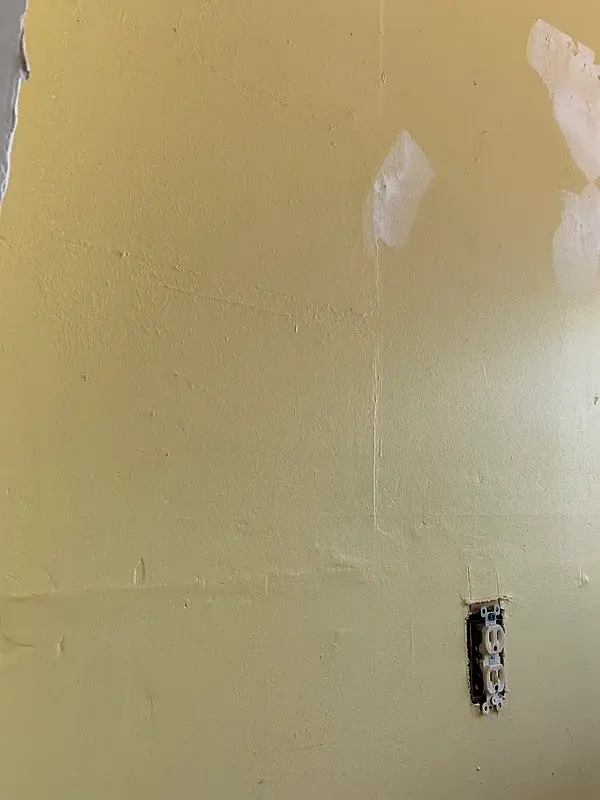
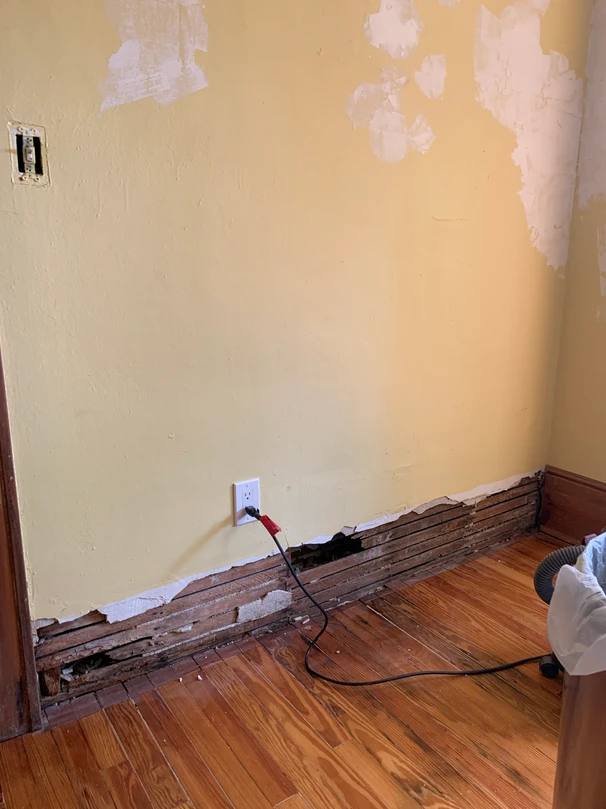
A large amount of the original plaster is disintegrating at the baseboards, possibly due to the installation of baseboards with carpenter nails and a hammer. This, coupled with neglect, led to the shattering of all the plaster.
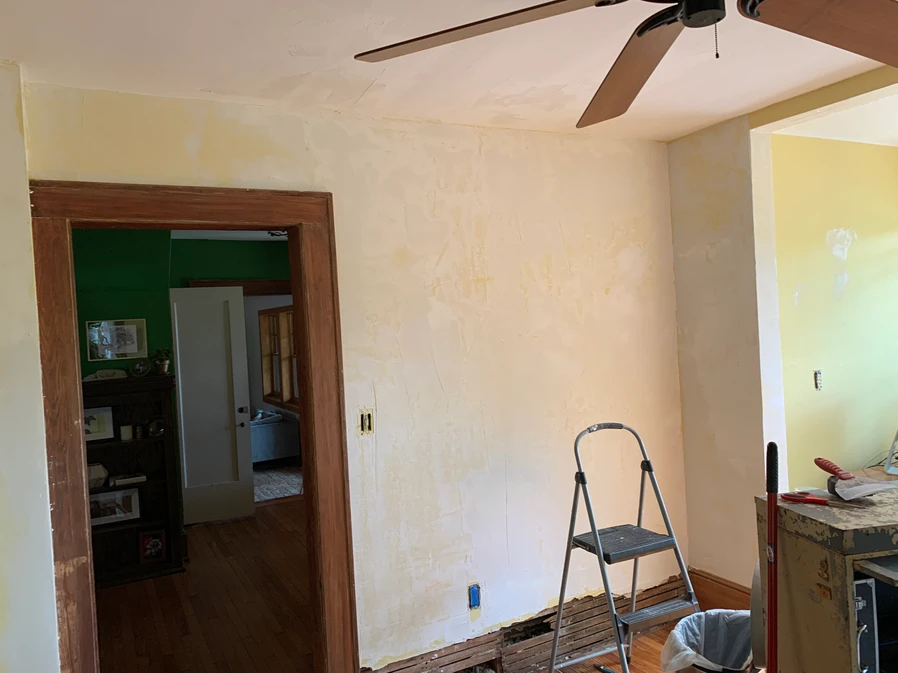
To fix this issue without completely removing the plaster, the best approach is to apply a thin layer of plaster, known as a skim coat, to the entire room, including the ceiling. This will result in a perfectly smooth finish for all the walls and the ceiling.
The first step is to fill in all the holes and remove any loose or damaged plaster. Then, I prepare a mixture of drywall compound and water, aiming for a consistency similar to a milkshake that can be drunk through a straw. I use a 14" drywall knife to apply the mixture smoothly and thinly. Once it dries, I scrape off any raised lines created by the application of the drywall knife. Afterward, I prepare another batch of the mixture and reapply it.
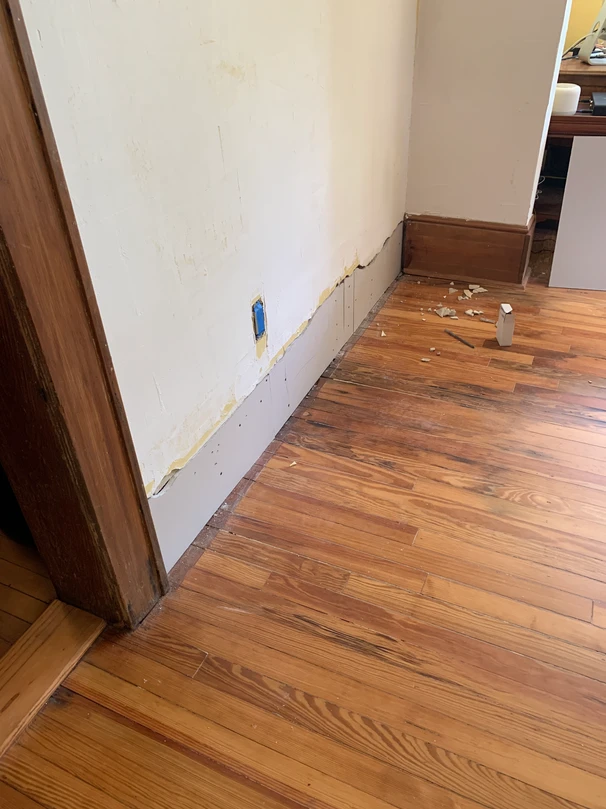

I need to replace all of the broken plaster with new pieces of drywall. Fortunately, most of this damaged area will be hidden behind the 11" baseboards, but I still need to install drywall to keep the baseboards flush against the wall.
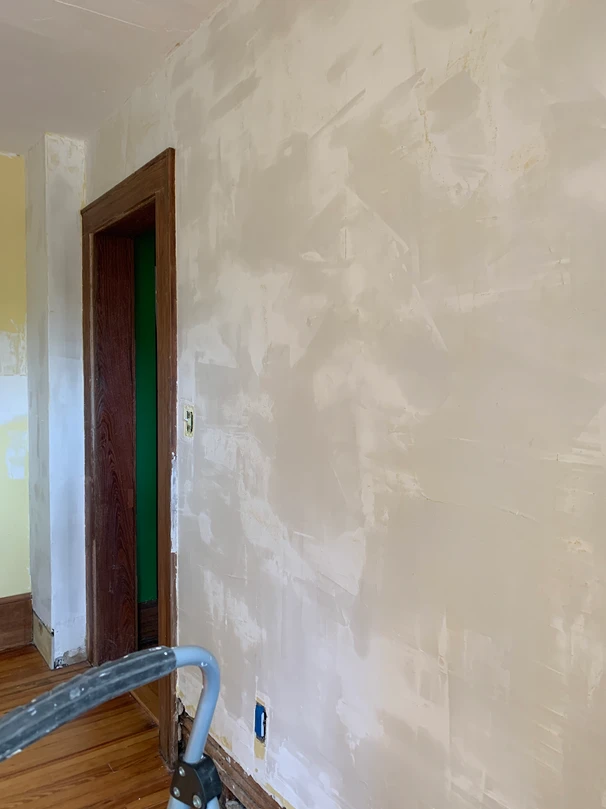
Currently, the wall is 85% smooth. After it dries, I will need to lightly sand it. Once sanded, it will be easy to identify any inconsistencies, and I can promptly fill any areas with mud that require it.
Comments